
Iron Man Bronze Statue - Master Build
After multiple delays and setbacks, the wait is finally over — the Iron Man bronze statue Master Build is live!
In this Master Build, Christopher Armstrong reveals the assembly and painting of a miniature Iron Man capsule toy (Japanese gashapon) model kit, to resemble a cast metallic sculpture with realistic weathering effects. This step-by-step demo covers some of the key fundamentals of model making, including glue bonding, collecting reference material, sanding & surface preparation, and final paint application. Paint can be a powerful tool to boost the appeal of object (or to give it an effect of being a completely different entirely) and is used widely in film and special effects props. Anyone can use this simple process to transform any object, model, or 3d printed part into a convincing cast metal sculpture — perfect for creating custom trophies, movie props, or luxurious home decor pieces.
Materials used in this build:
-Iron Man Capsule Toy / Gashapon (www.ebay.com)
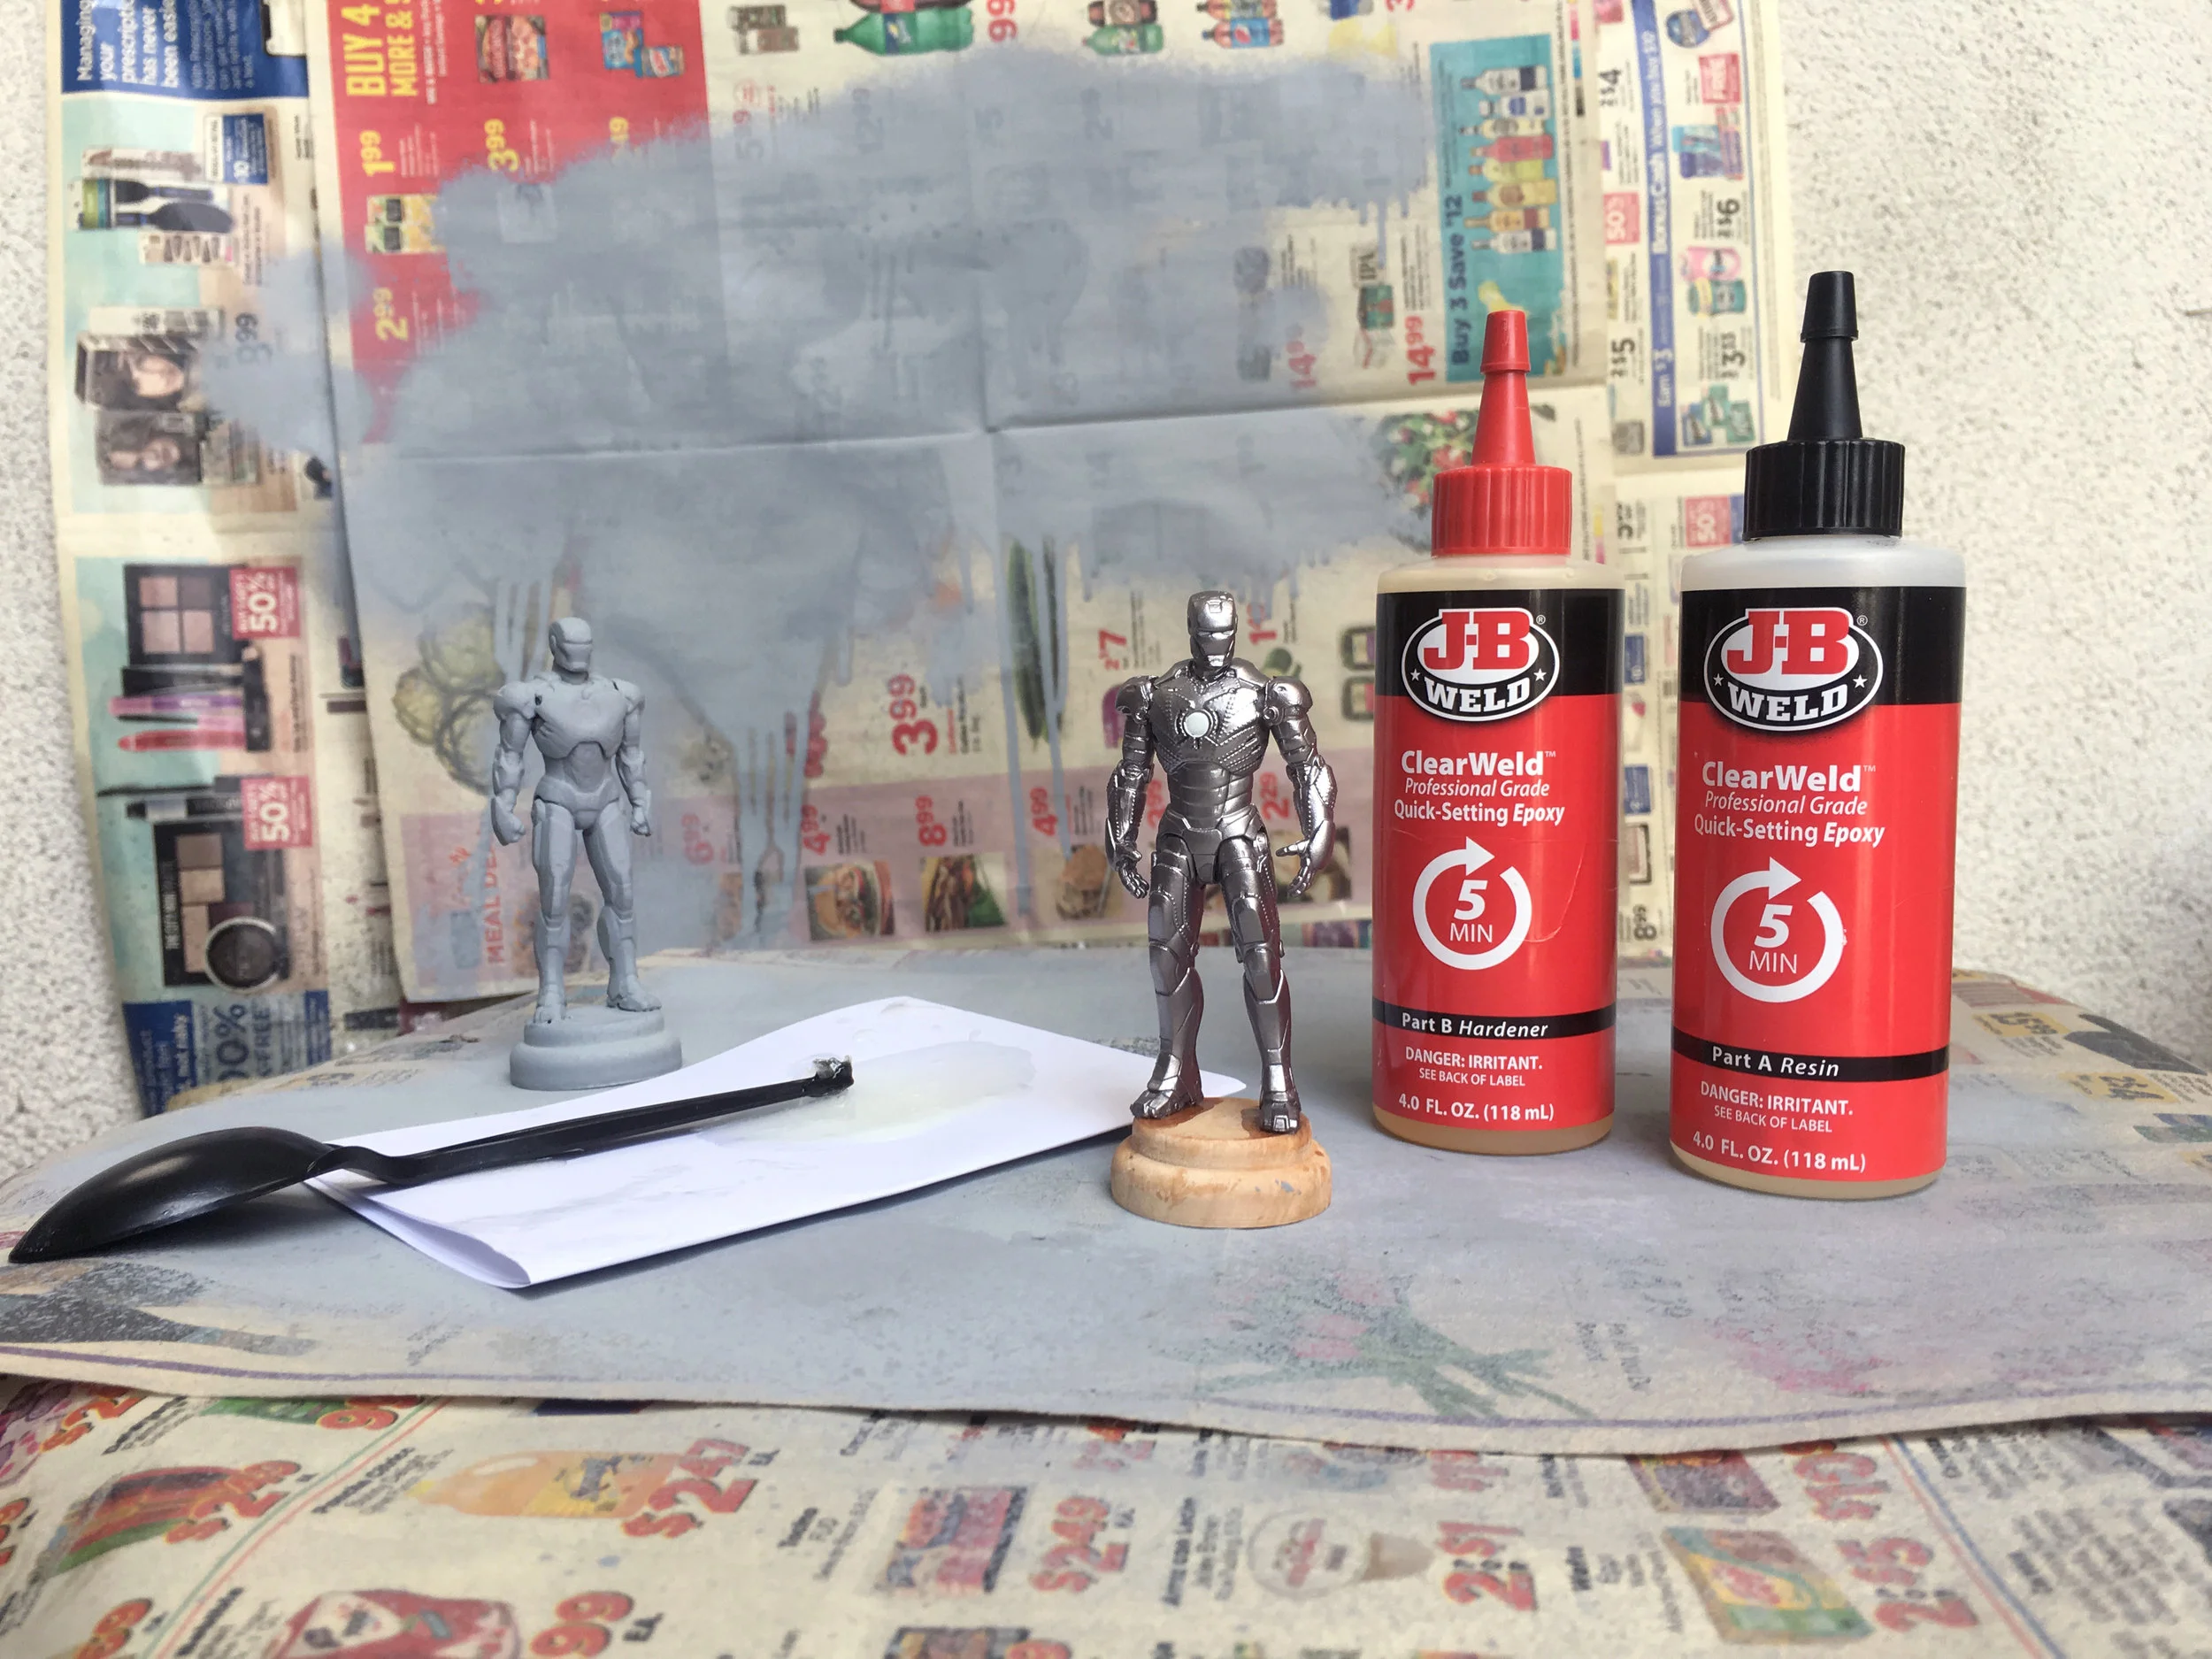
-5 Minute Epoxy (two part)
-Rust-Oleum Automobile Primer (Light Gray)
-Rust-Oleum Universal Metallic Paint (Oil Rubbed Bronze)
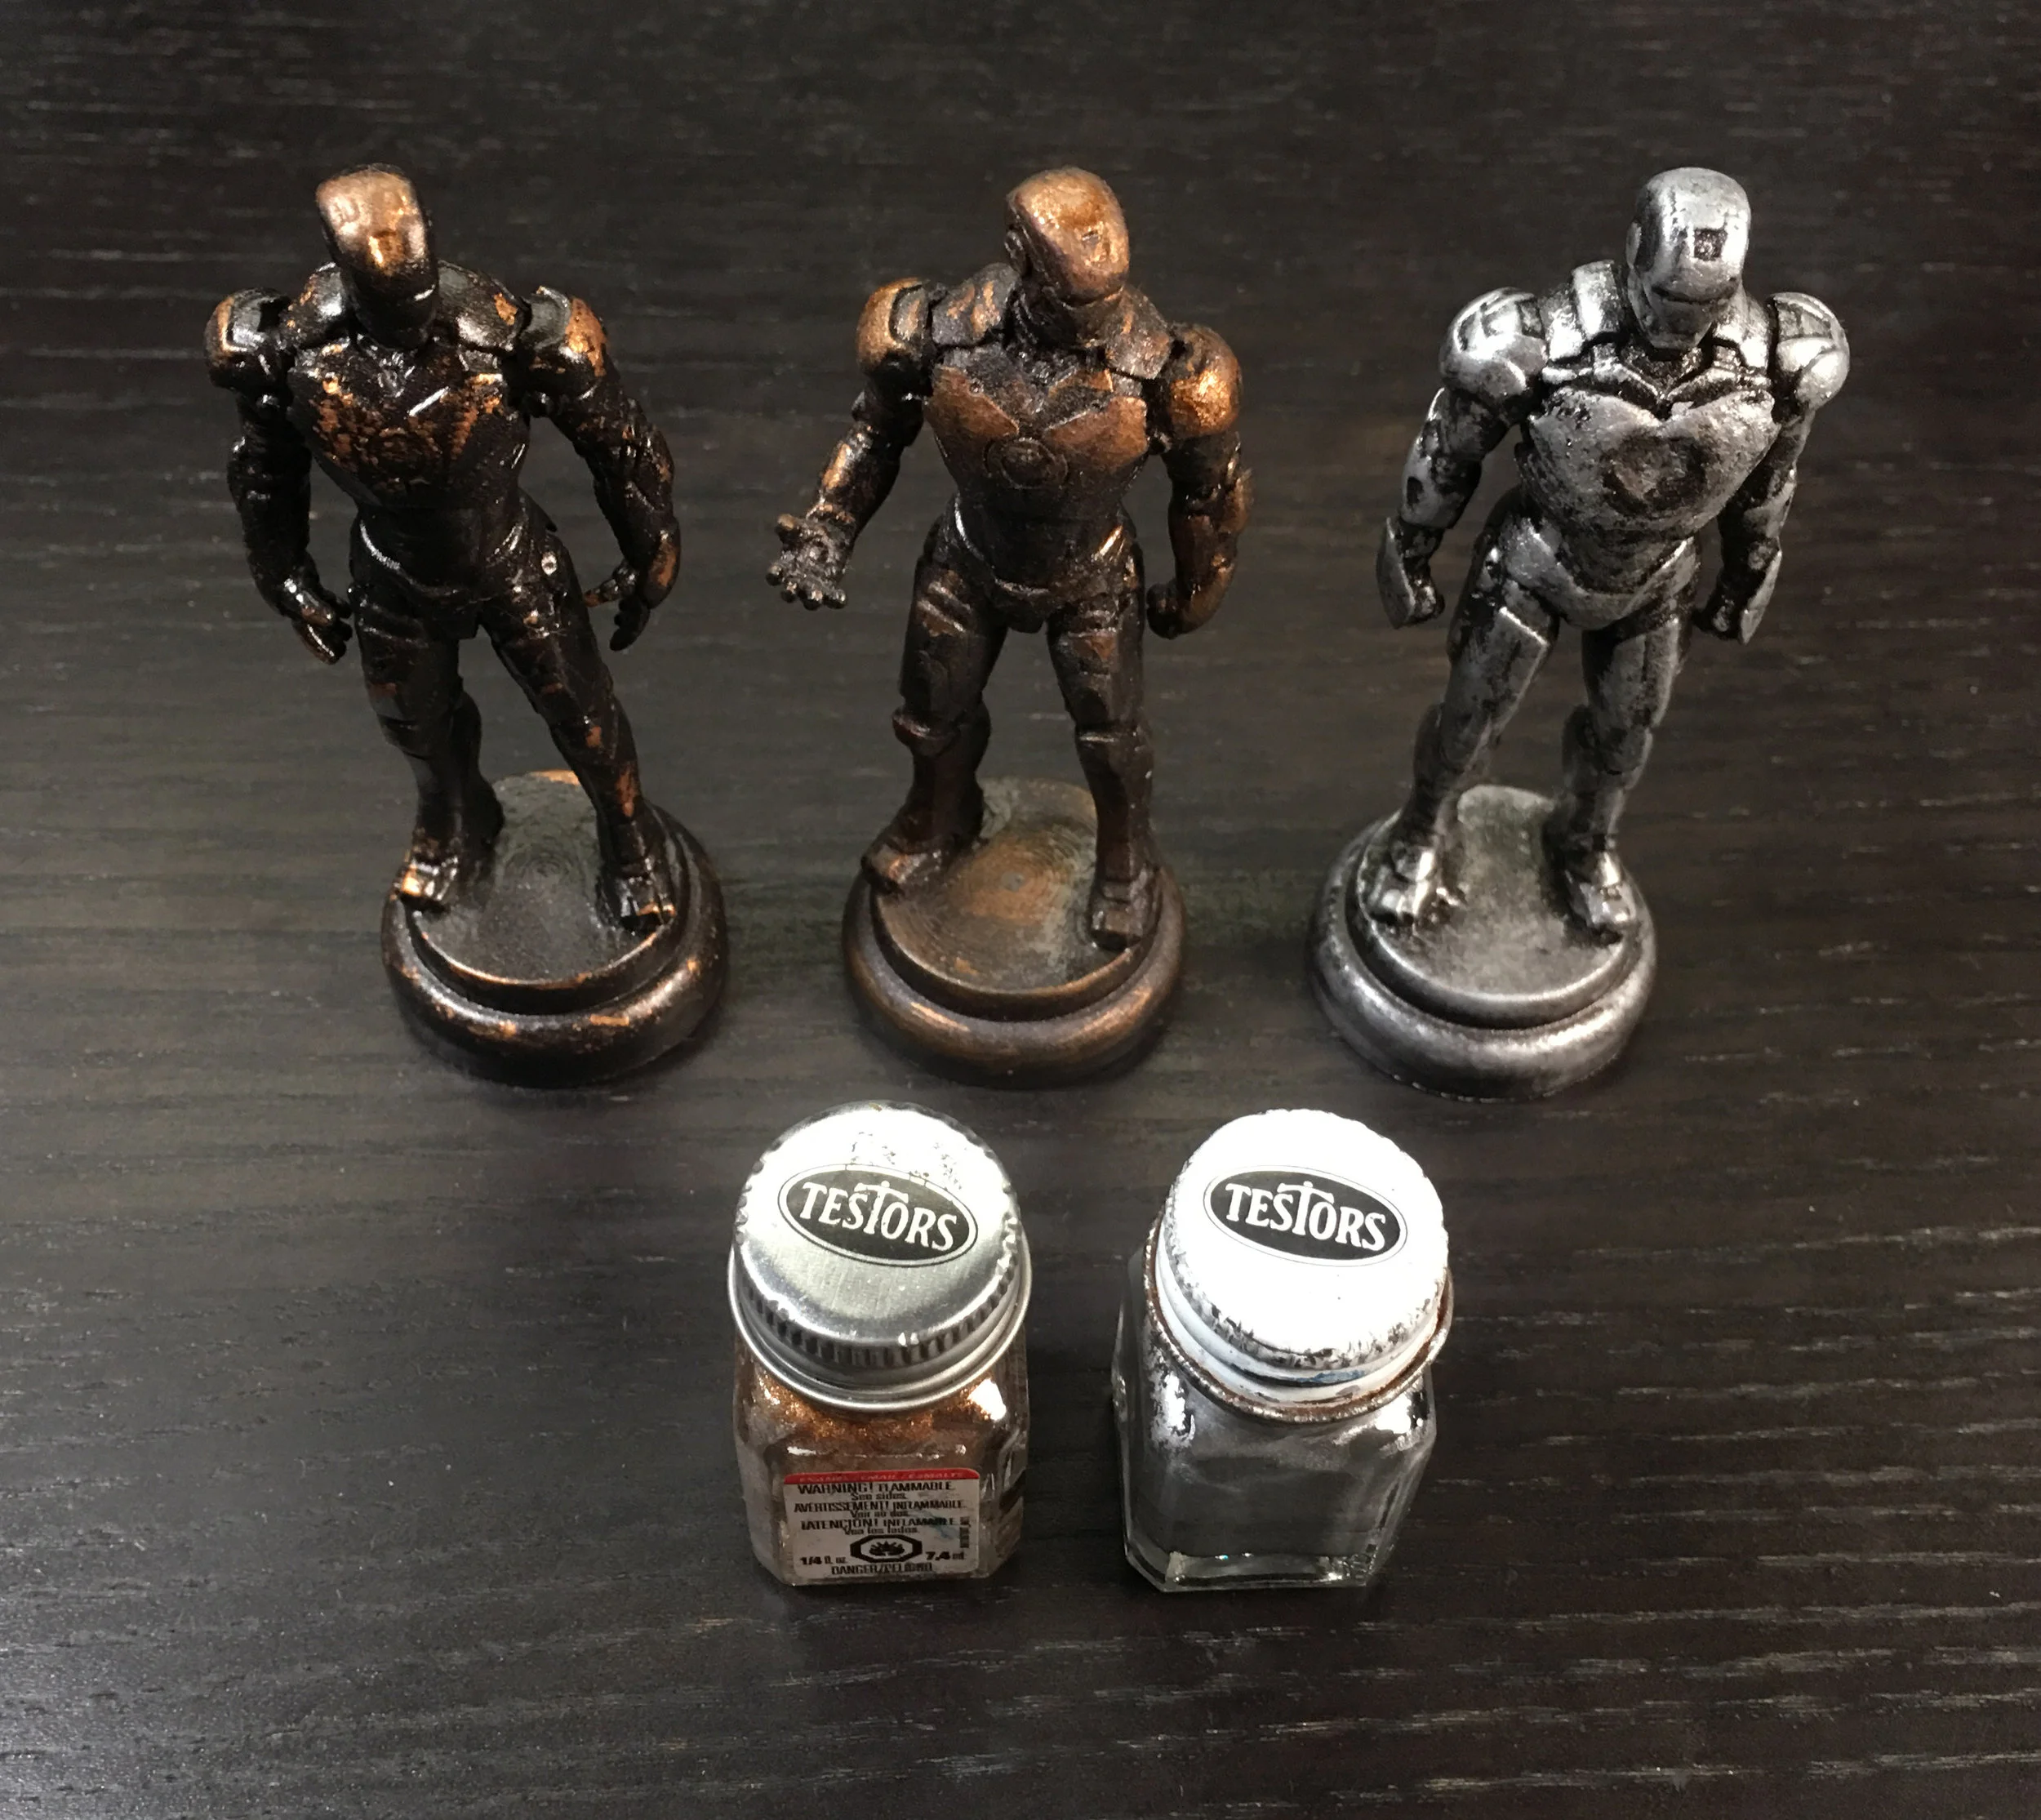
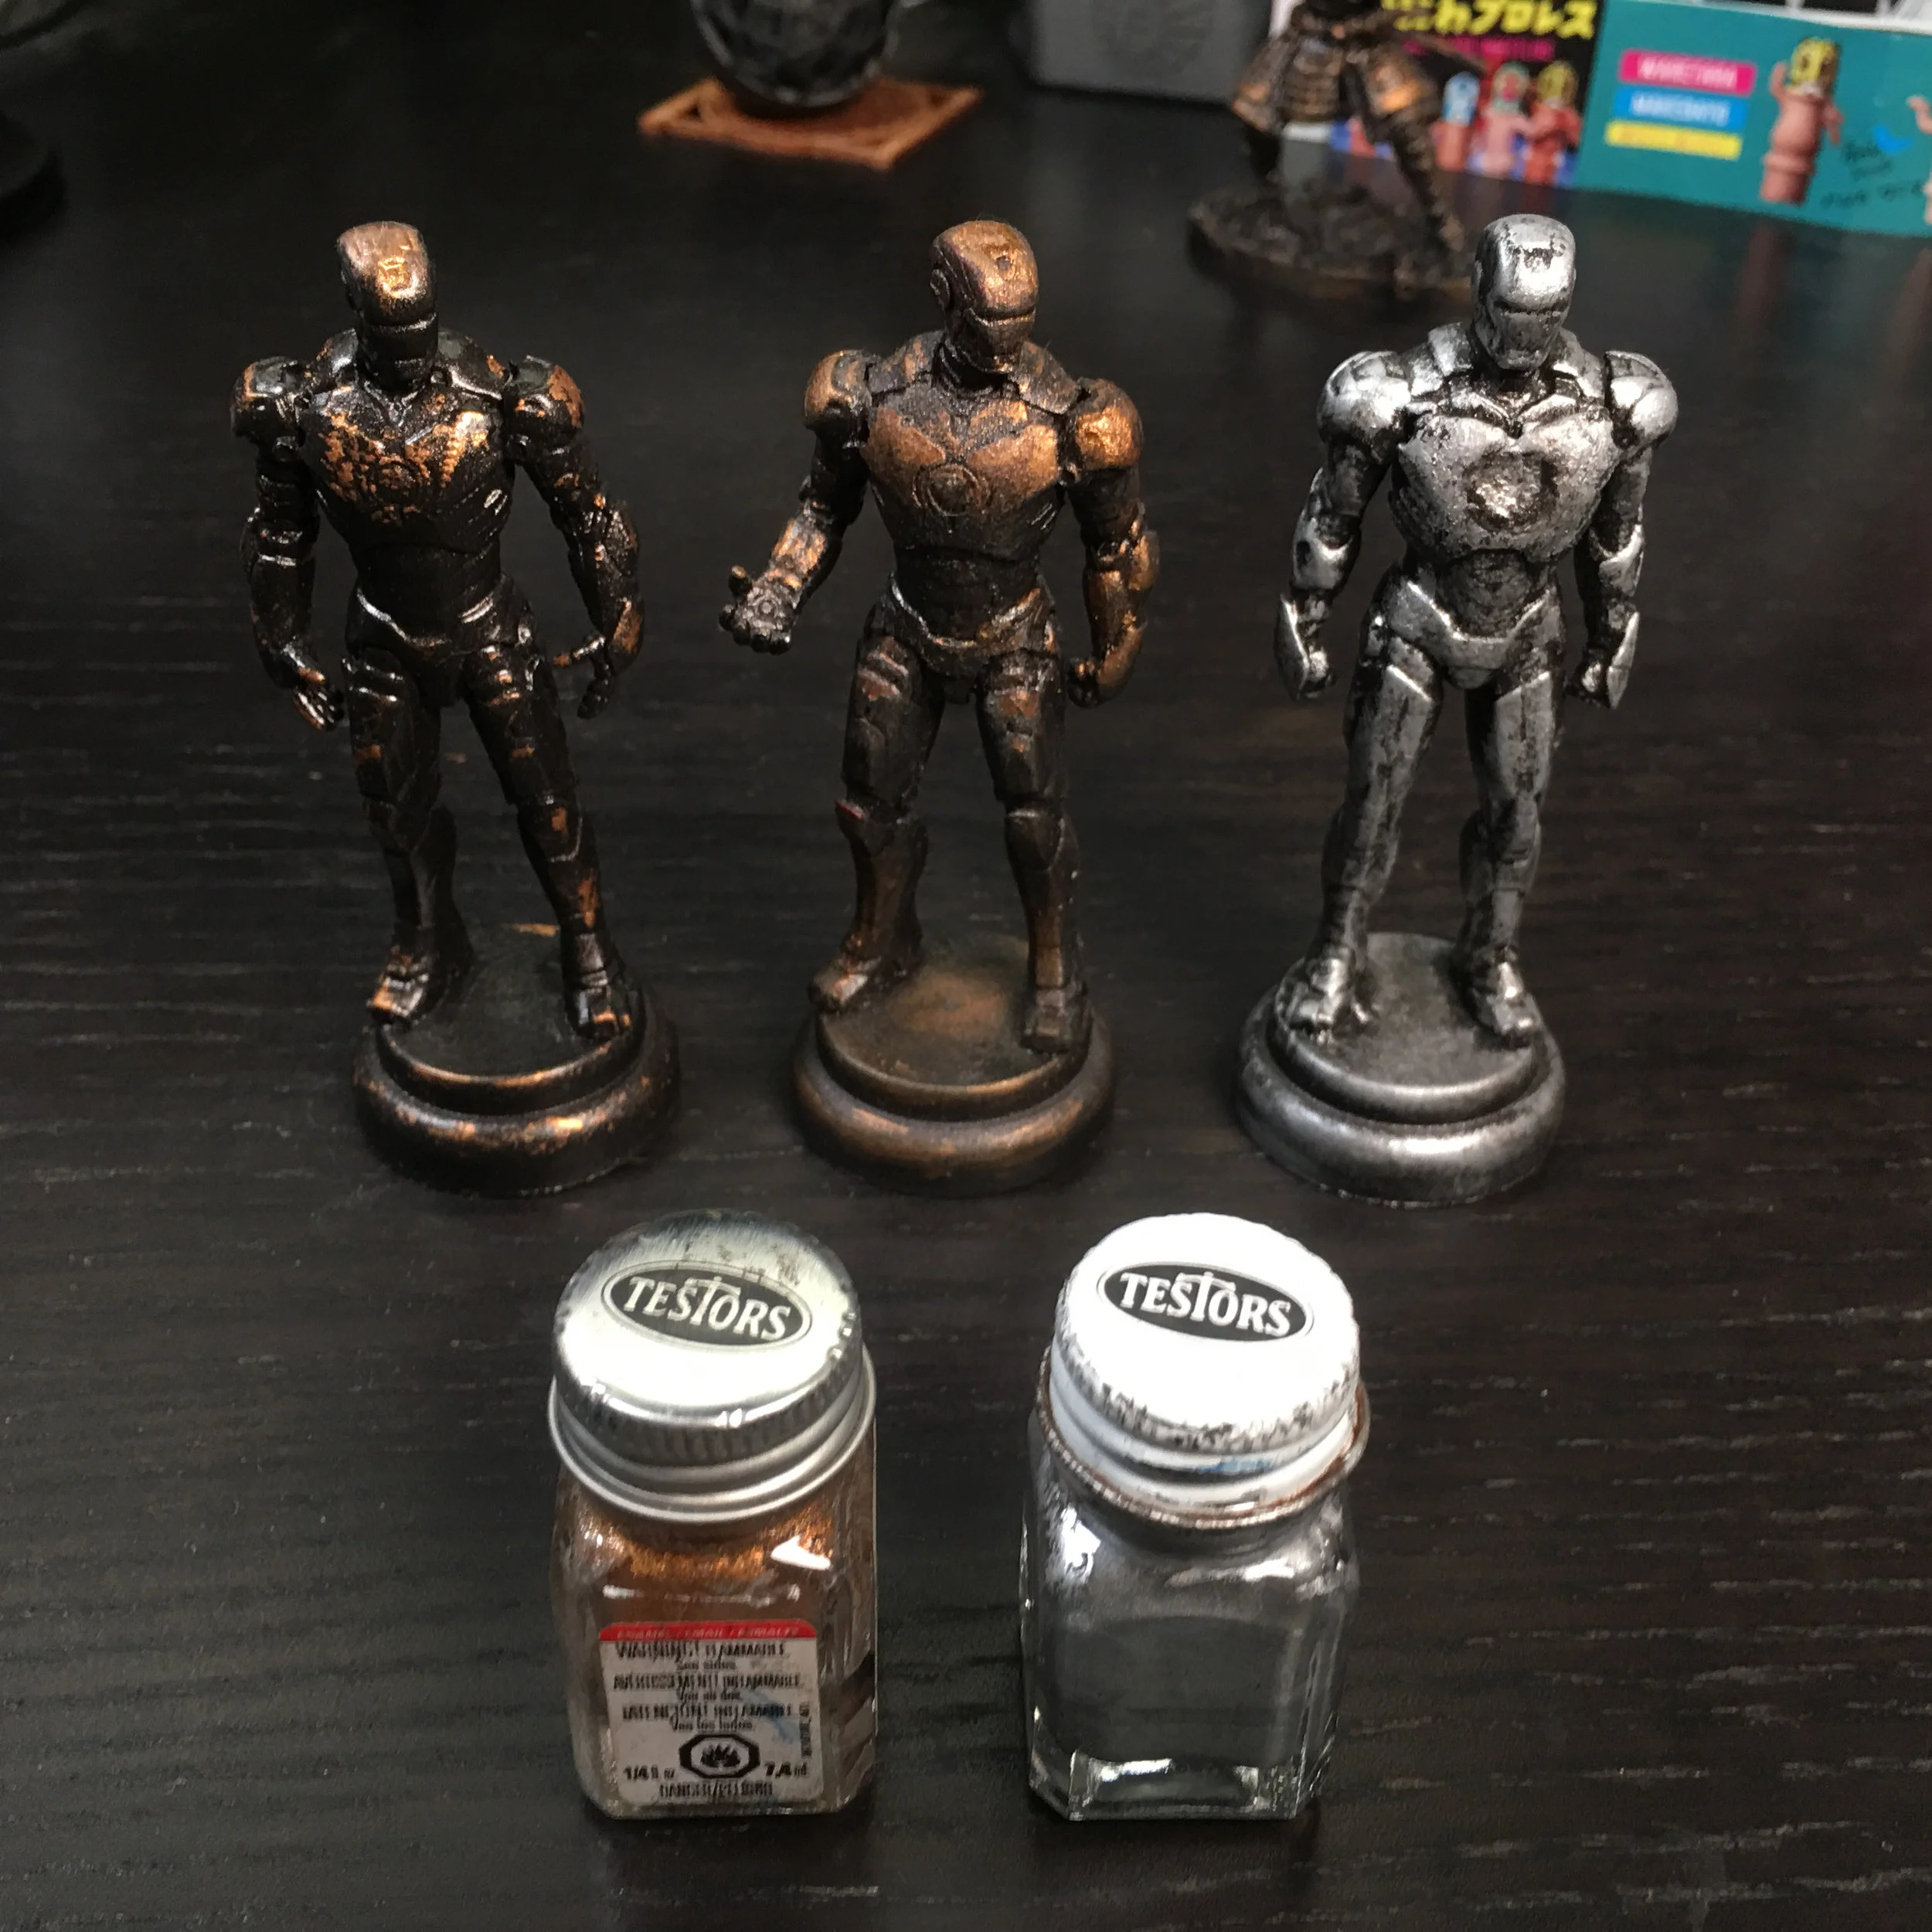
-Testors Acrylic Enamel (Flat Brass & Silver)
-Wood bases from hobby store
-Paper towels & Q-Tips
-Nitrile or Latex Gloves

1) Below is a collection of real-world bronze weathering reference imagery, which were taken from a trip to Disneyland. There’s nothing like studying from real-life reference, sine this will give this model an air of ultra-realistic authenticity. This reference will be critical to get the realistic bronze effects just right in this build:

2) Assembled miniature Iron Man capsule toy, glued to a small wood base with 5 min epoxy:
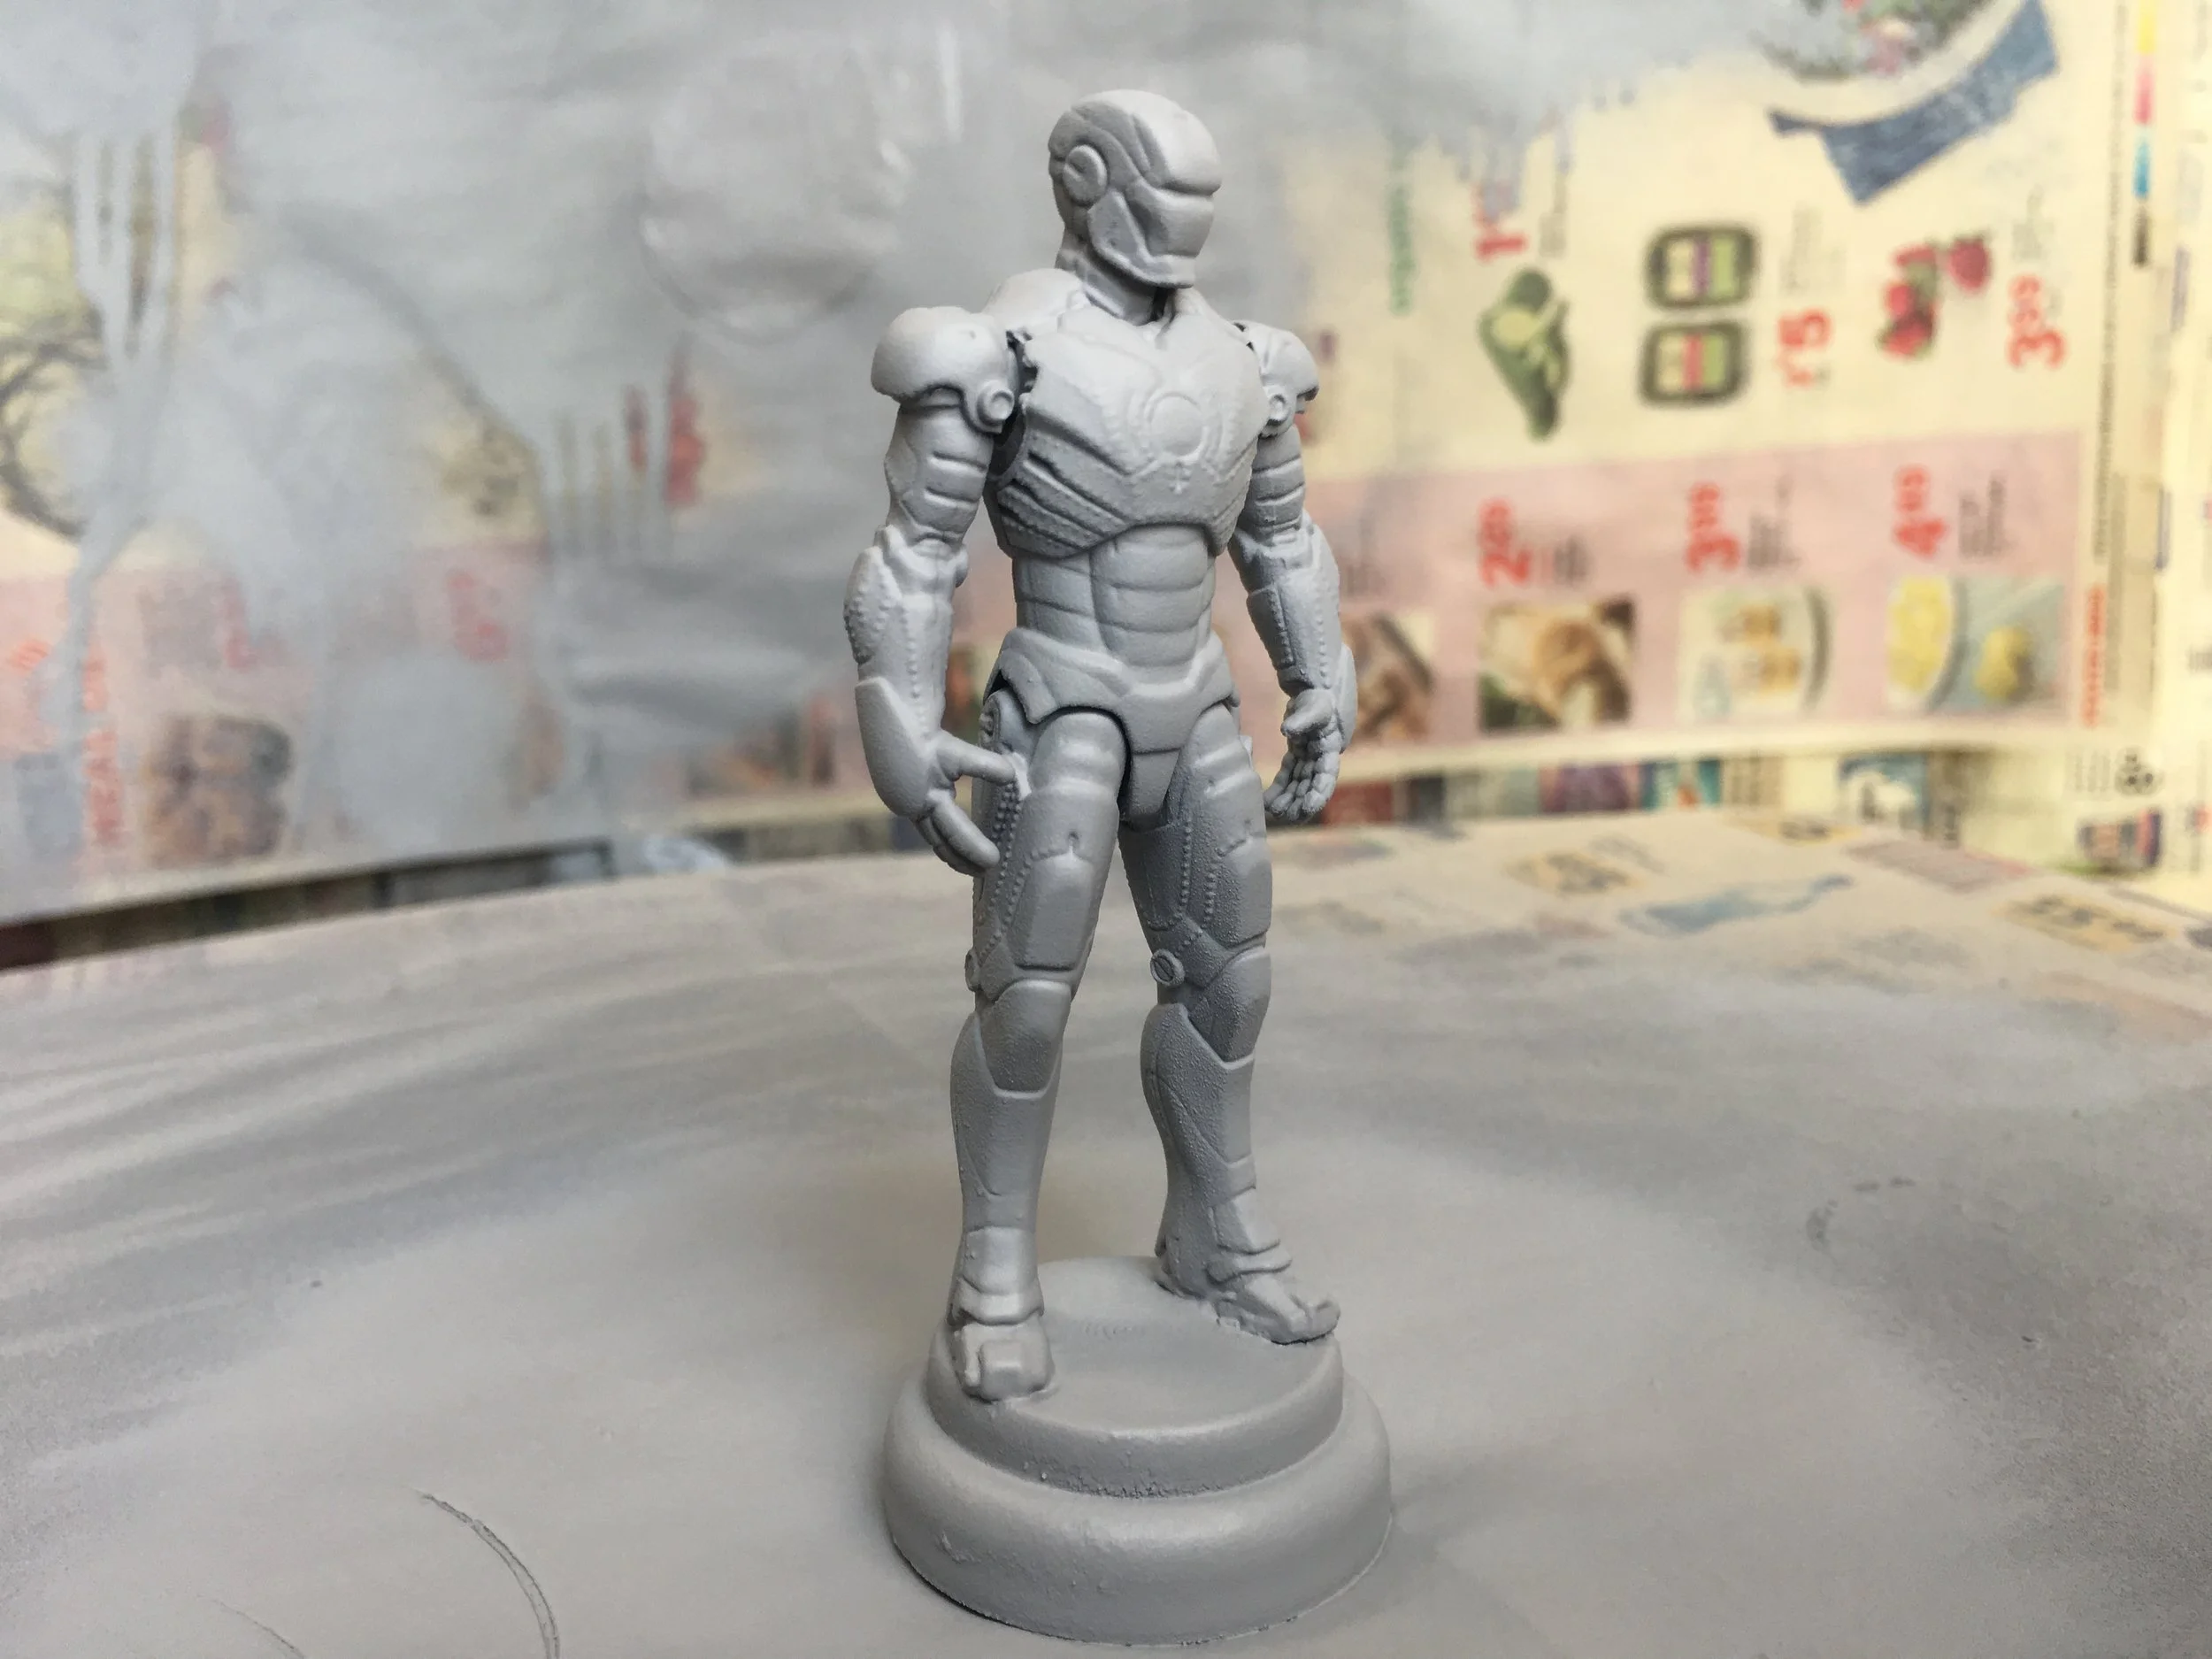
3) First primer coat is used to prepare the surface for spray paint. Automobile primer is used, since it has a higher paint solids content and dries much faster than typical canned primers:

4) Oil Rubbed Bronze metallic paint coat is applied after the primer is allowed to fully dry:

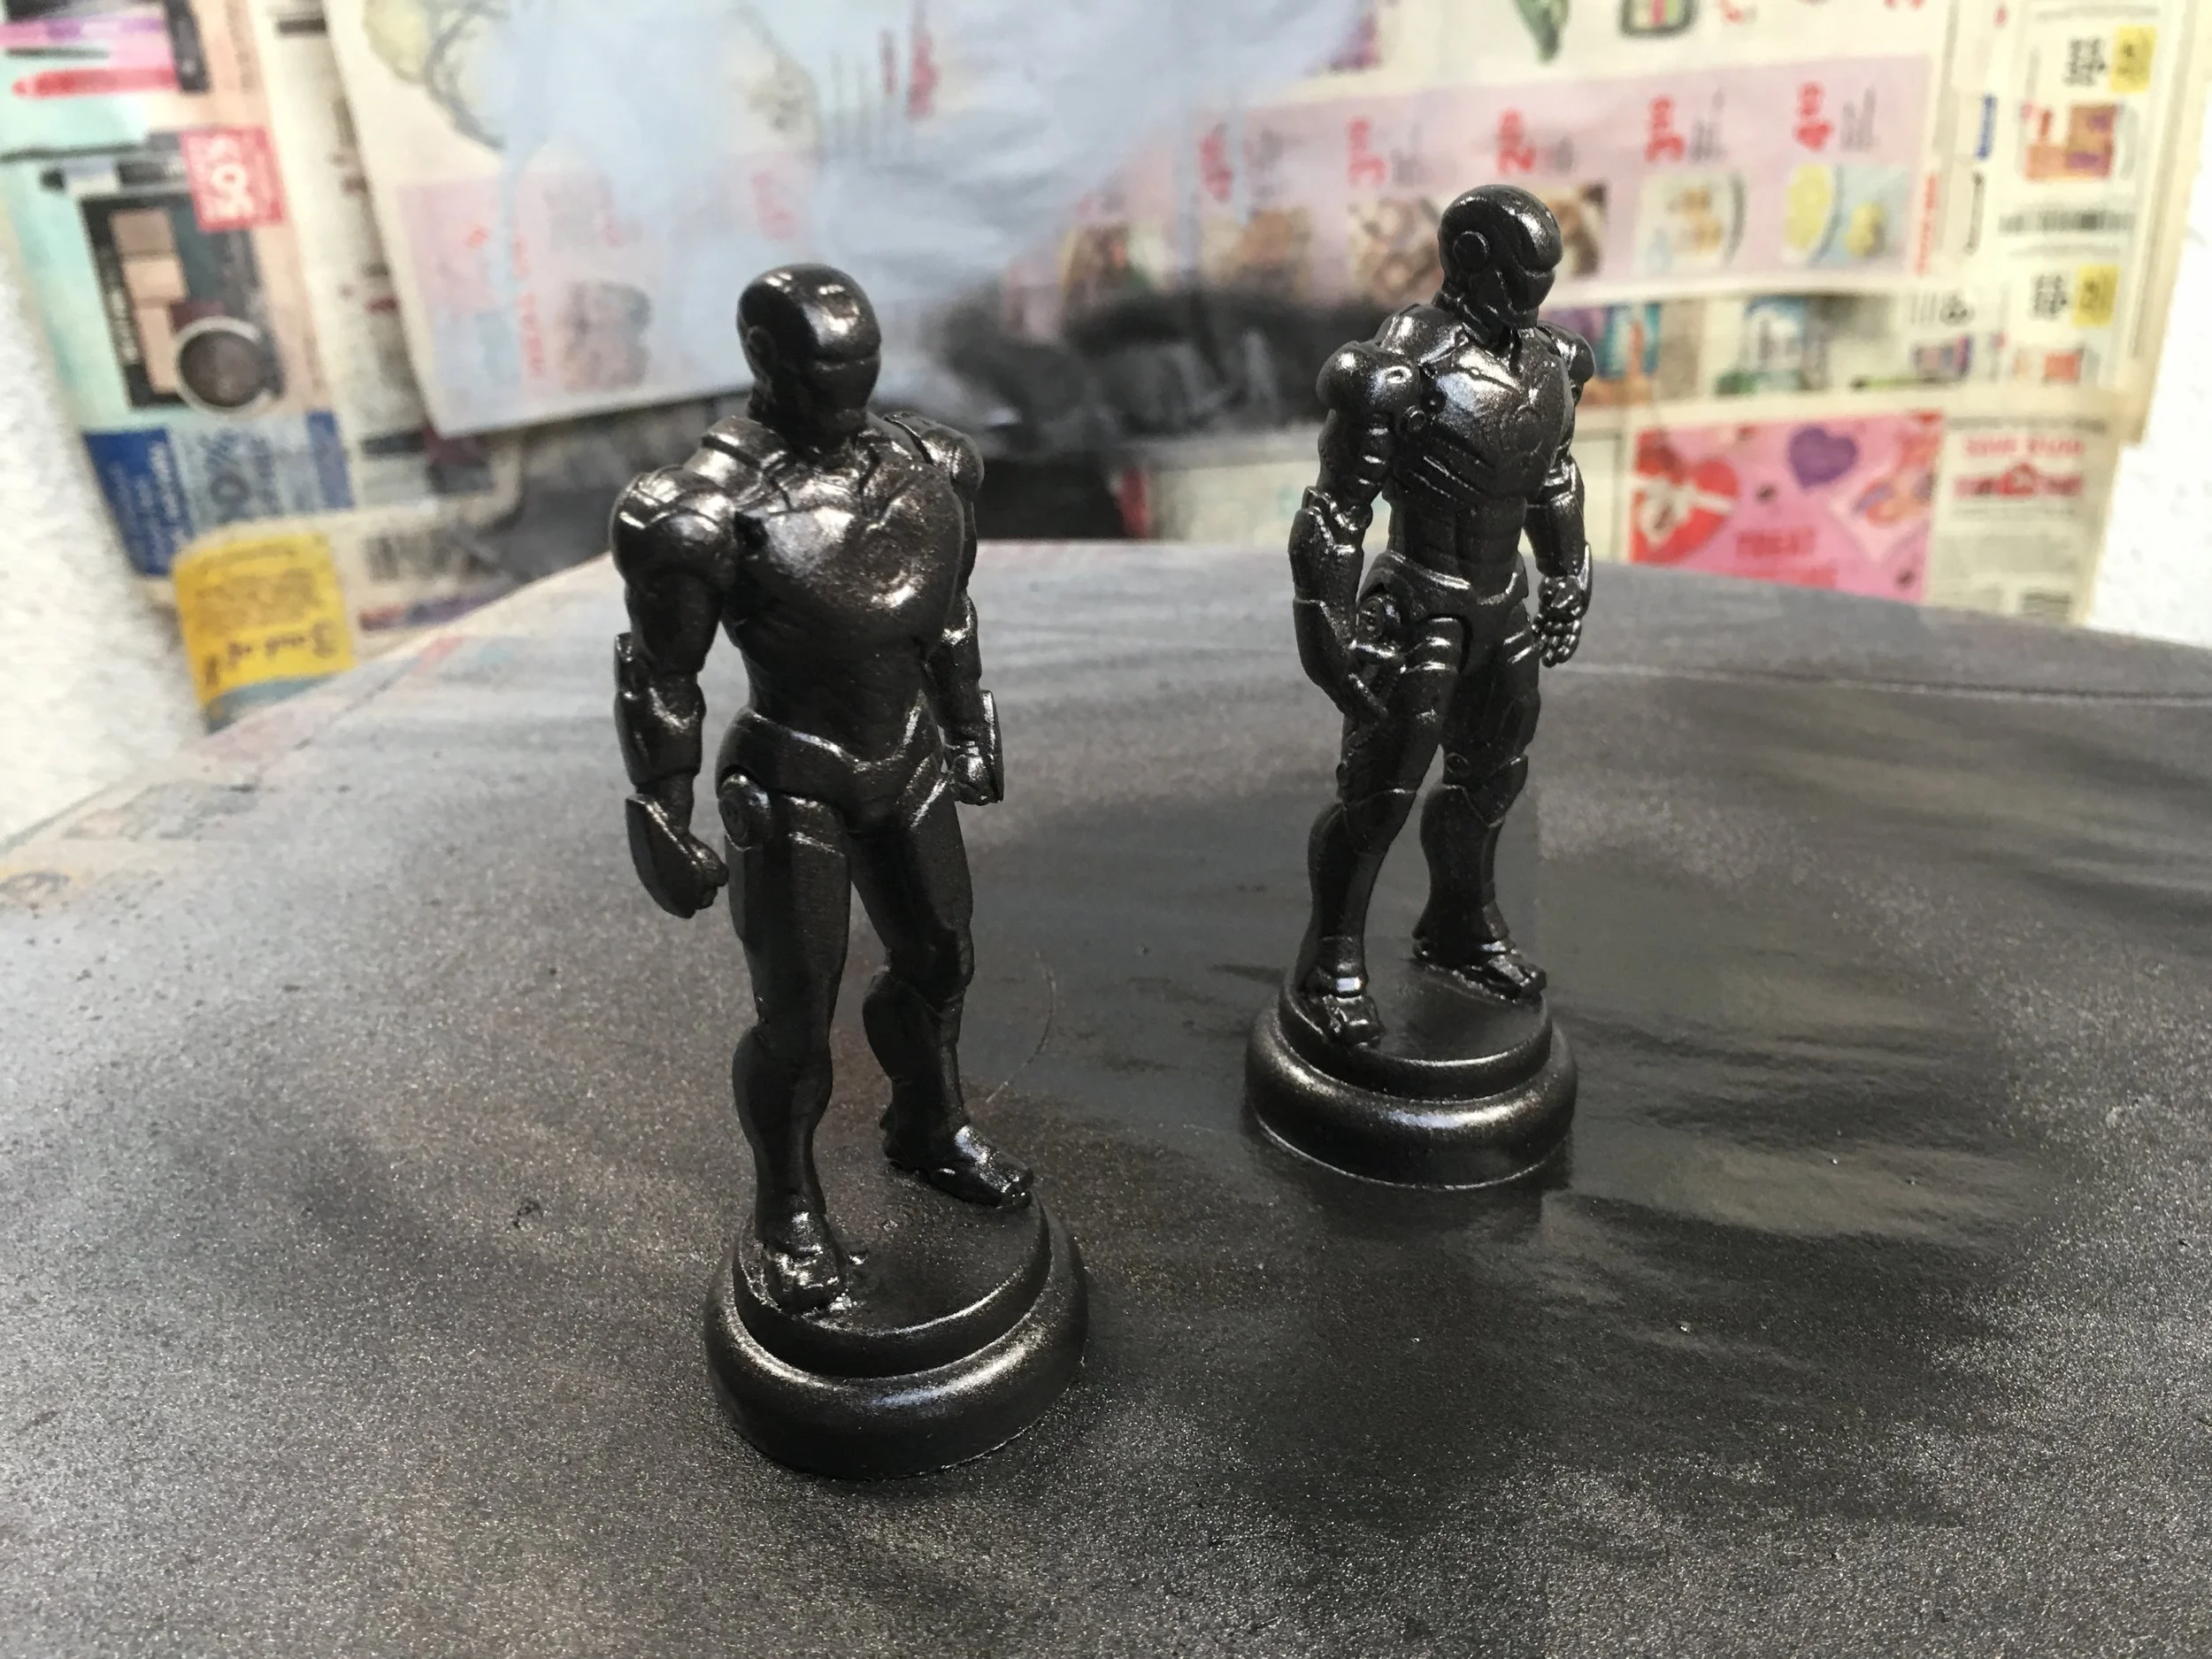
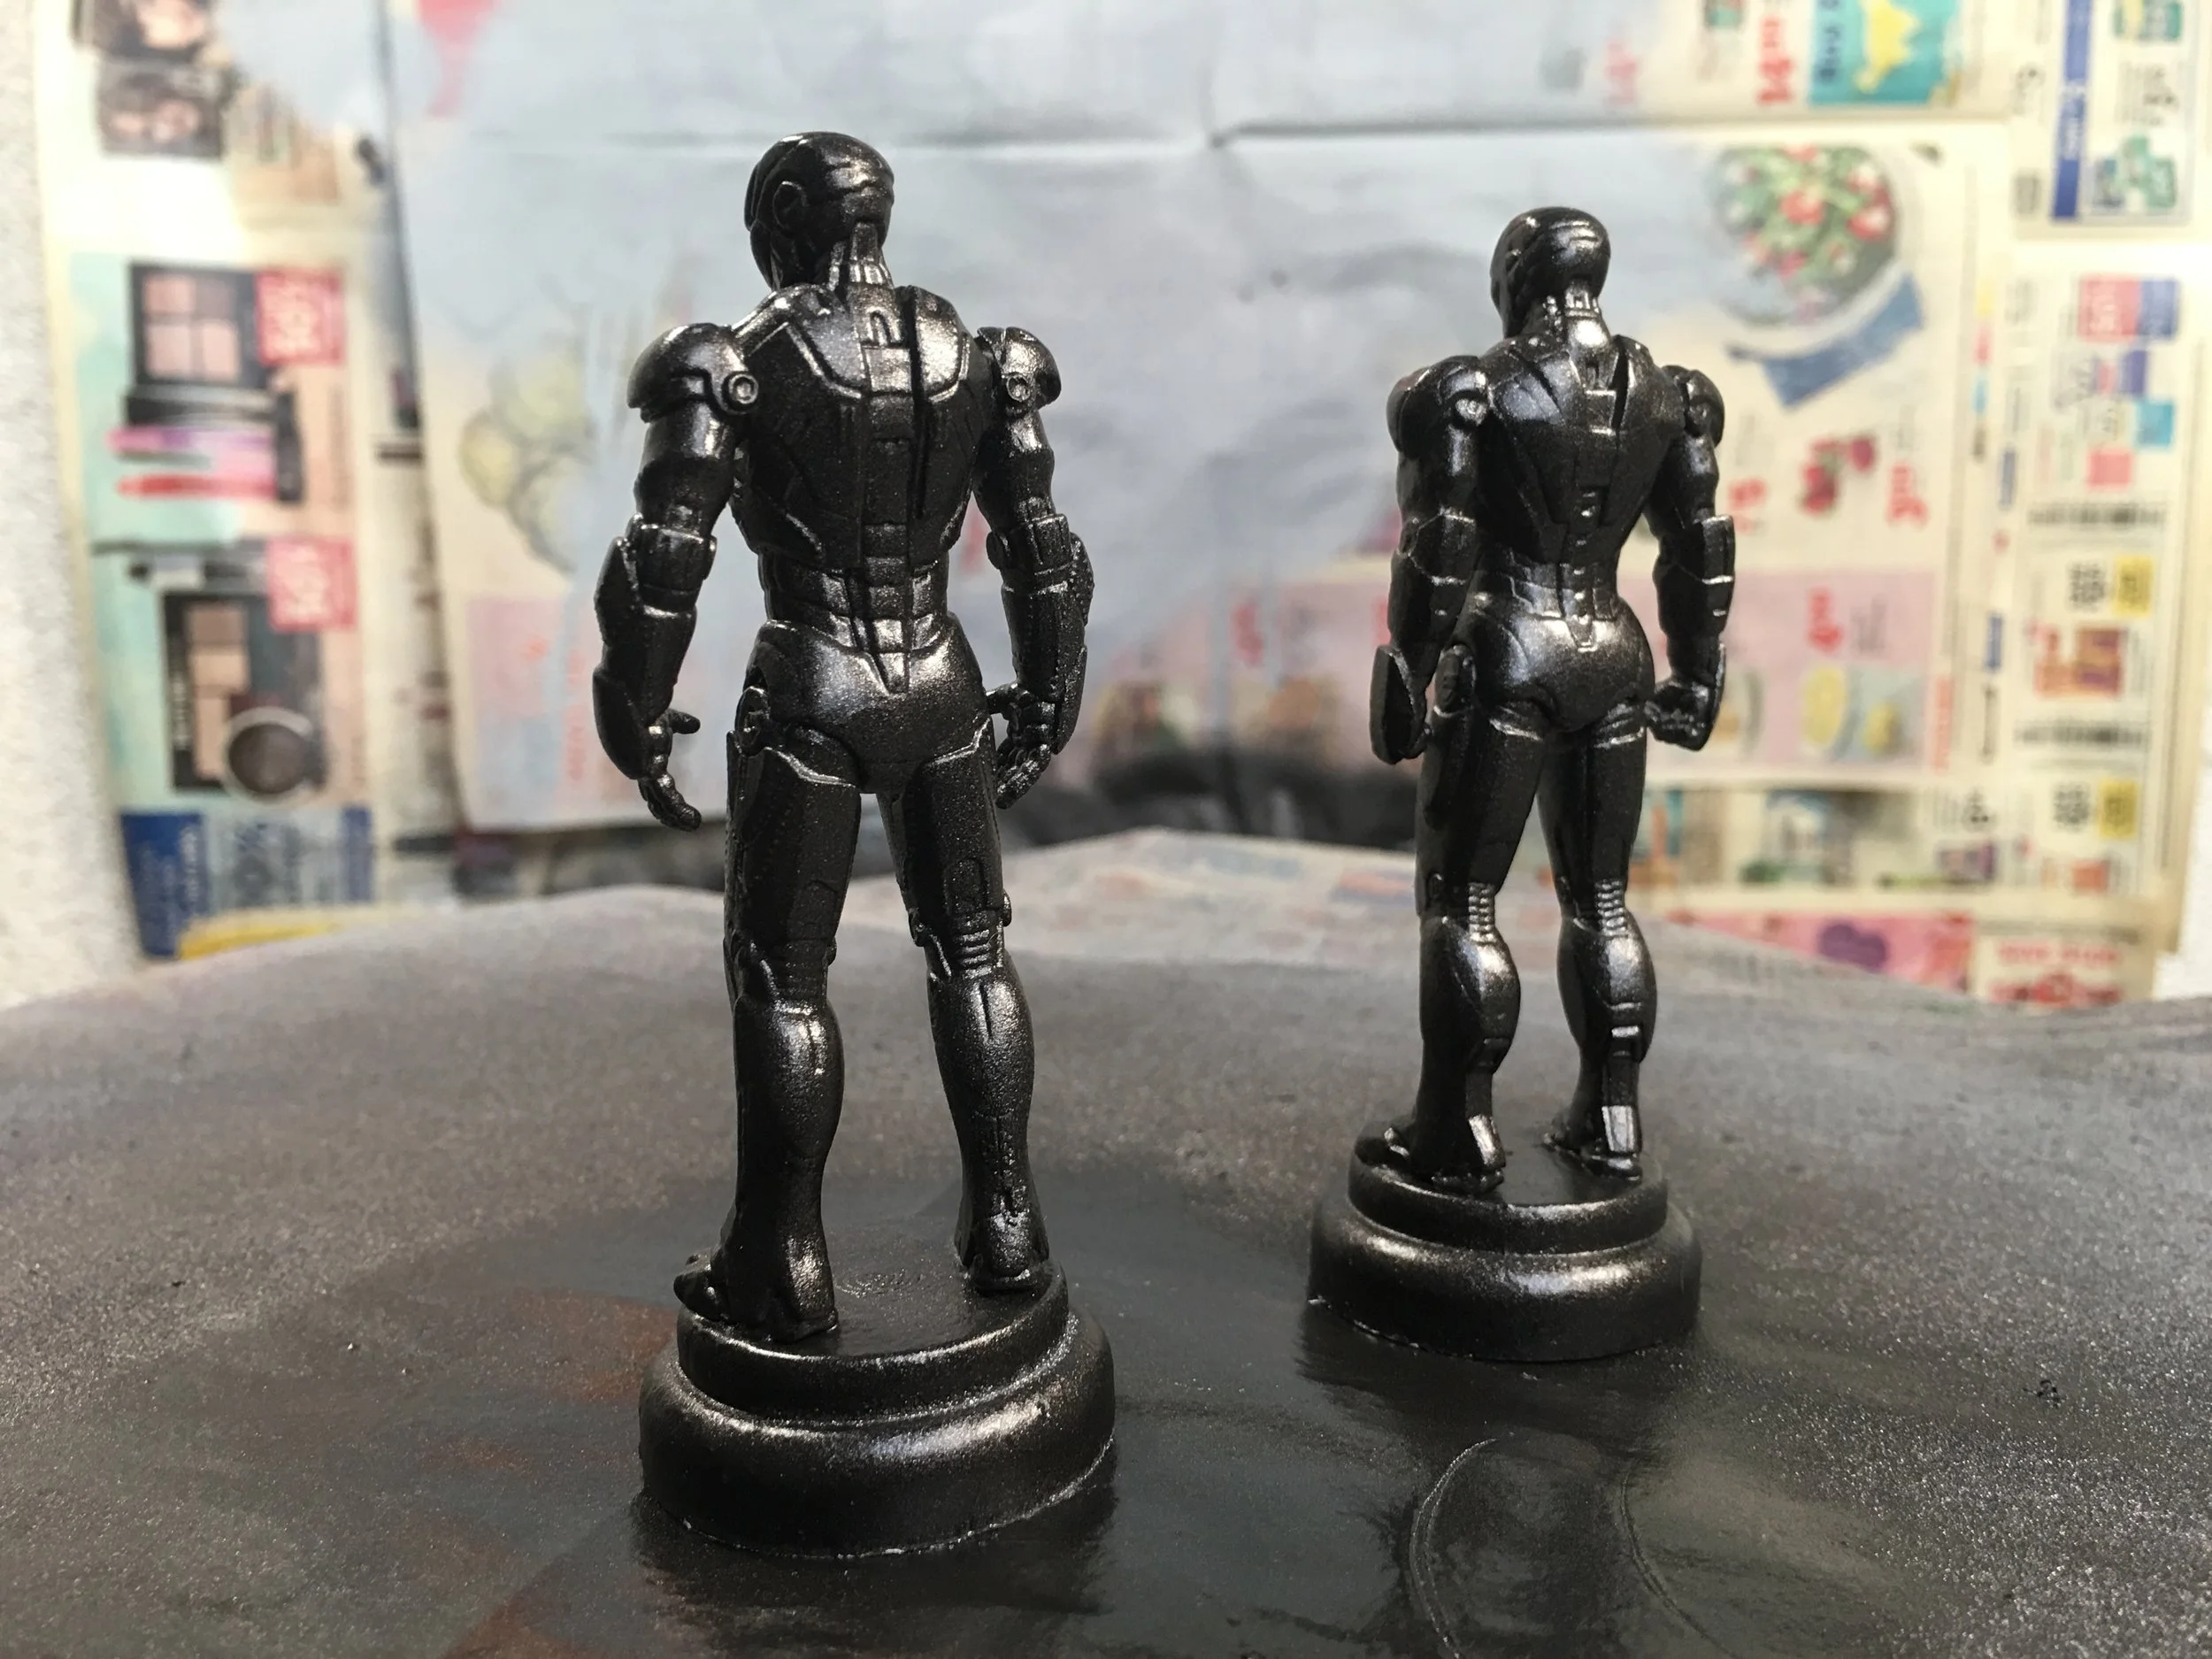
5) After the base paint coat is allowed to fully dry (5-10 hours), a final layer of Testor’s arcylic enamel paint is applied to give a convincing weathering effect:

Take your Maker game to the next level with The Maker's Field Guide: Master Maker Edition!
More step-by-step pro builds like this one can be found in the all new Master Maker edition of The Maker's Field Guide — available now as both a book & ebook in the online store. Take your maker game to the next level and become a true design, model making, and fabrication master!